
Home / Blog Center / Chargers / A Complete Tutorial on Floor Drain Disassembly and Reinstallation
A Complete Tutorial on Floor Drain Disassembly and Reinstallation
06/03/2025 | Hawkrown
Everyone knows that a floor drain is essential in a bathroom, as it plays a significant role. Over time, due to prolonged use or various reasons, it may need to be replaced. Below, I'll introduce the methods for disassembling and installing a floor drain.
Methods for Disassembling and Installing a Floor Drain
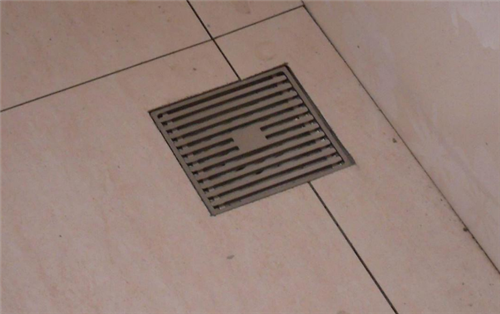
1. Before disassembly, it is crucial to pay attention to the size of the floor drain. Generally, the most commonly used floor drain measures 10*10 centimeters, with a diameter of approximately 5 centimeters.
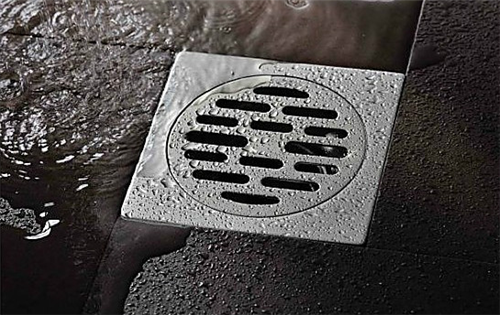
2. Use a tool to pry open the old floor drain and the floor tiles. Then, use a hammer to tap the floor drain, separating it from the cement. Once the floor drain is removed, clean the drain opening thoroughly and block the drainage outlet. Afterward, you can install the new floor drain in the original position.

Points to Note When Replacing a Floor Drain
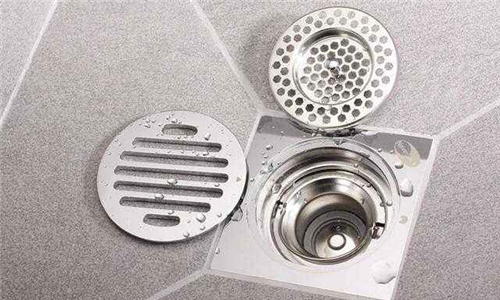
1. Before installation, make sure to remove the floor drain core. This is done to prevent any objects from falling into the drainage pipe, which would hinder future use. Remember, the purpose of installing a floor drain is for drainage, so its position should be slightly lower than the floor to ensure quick and clean water drainage.
2. To maintain aesthetic appeal, avoid positioning the floor drain too low. If it is far from the drainage pipe, you should use cement mortar to elevate it to ensure it looks good.
3. During the floor drain installation, consider future maintenance issues. Therefore, when filling with mortar, the floor drain should not be used directly. Instead, use a rolled-up or matching cylinder to connect it to the drainage pipe before filling it with cement.
4. Ensure that the connection to the drainage pipe is higher than the floor. Then, fill it with pre-mixed mortar, allowing for height adjustments. Once the mortar has set, you can insert the floor drain into the pipe, effectively bonding them together.
In summary:this concludes the introduction to the methods for disassembling and installing a floor drain. You can follow the methods outlined above for disassembly, paying attention to details during the process. If you wish to learn more related knowledge, feel free to consult our website.