
Home / Blog Center / Chargers / How to Remove the Plastic Core from a Floor Drain
How to Remove the Plastic Core from a Floor Drain
05/03/2025 | Hawkrown
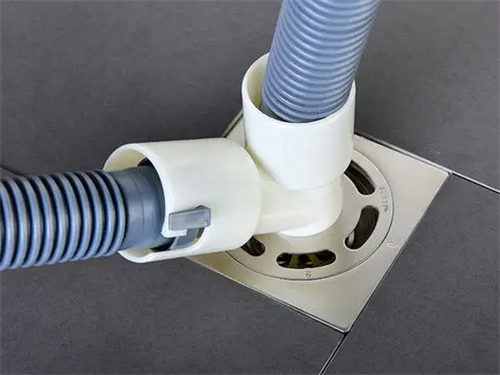
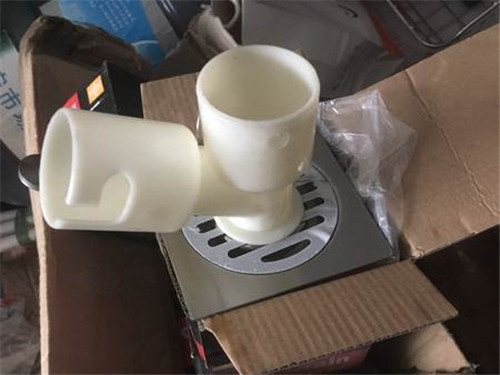
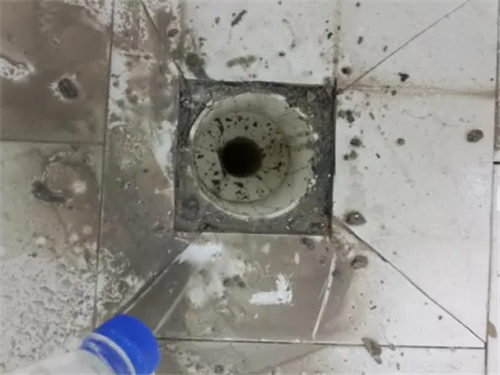
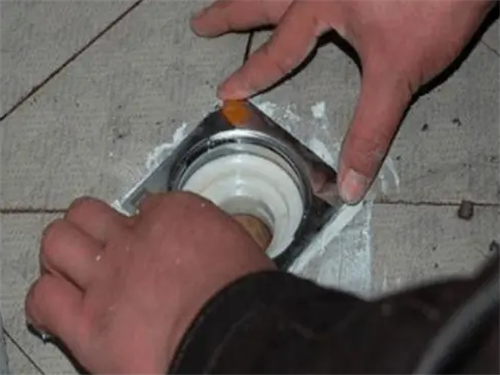
For most floor drains, you can typically remove the plastic core by hand. First, take off the drain cover and filter screen in sequence, and then you should be able to pull out the drain core. If it doesn’t come out easily by hand, you can use a screwdriver and pliers to help extract the plastic core from the drain while also clearing out any surrounding debris like cement or sand.
How to Remove a Floor Drain
1. Determine the Shape and Size
There are many styles of floor drains available, with most being square, although some are round. If you're struggling to choose a floor drain, I recommend opting for a square one, as it’s generally easier to install. The most commonly used floor drain size is 10×10 cm, but there are also some that are 12 cm and other sizes. Personally, I suggest you choose a 10 cm floor drain. If you’re replacing a drain, make sure to buy one that matches the shape and size of the original drain.
2. Pay Attention to the Depth of the Drain Pipe
Currently, the mainstream types of floor drains in the building materials market are T-type and deep water seal drains. The T-type is shorter, while the deep water seal type is longer, so it’s advisable to test the depth with a stick.
3. Deep Water Seal Drain
This type has good odor prevention and a long service life, making it suitable for bathrooms, showers, and similar areas. The T-type drain only opens fully when water flow is concentrated, allowing for faster drainage; otherwise, drainage may slow down. While it can prevent odors, it doesn’t ensure 100% effectiveness.
Editor’s Summary:After reading the above information, I believe everyone now has a better understanding of how to remove the plastic core from a floor drain. If you want to learn more related information, please continue to follow our website, where we will present more exciting content in the future.